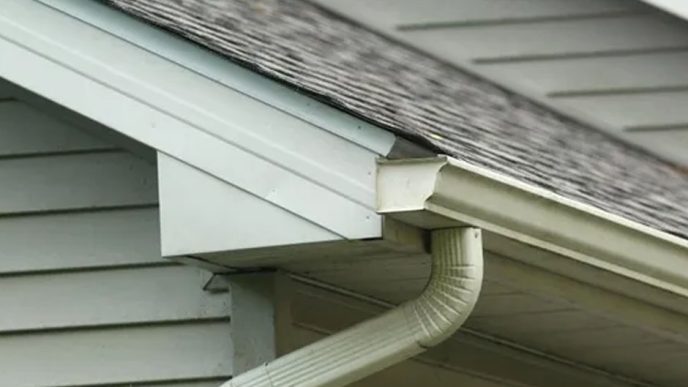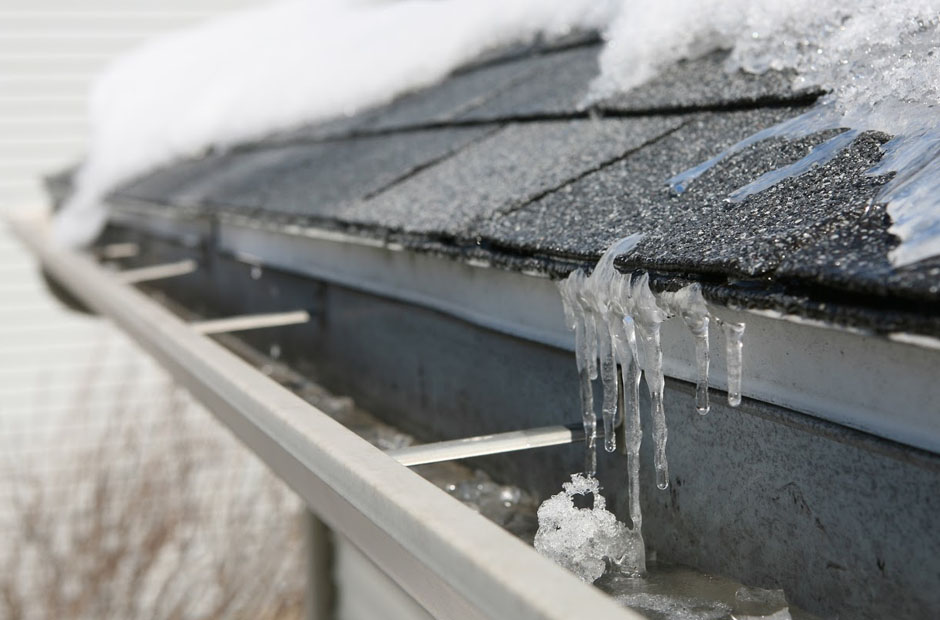
Gutters catch roof water and guide it safely away from home walls and foundation areas. Ice dams cause meltwater to refreeze at eaves, block flow, and force water under roof edges. In this context, timely solutions matter greatly because early action can prevent serious roof leaks and costly damage. Professional teams use tested methods and careful detail work to reduce dam risk along the roofline.
Professional gutter installation remains a central service to ensure gutters perform well in cold conditions. Smart techniques from pros include seal barriers, secure mounts, heat cables, and flow optimization plans. Homeowners usually need protection from winter freeze, especially where snow and melt cycles attack systems. This article will show practical and strong steps that benefit readers to prevent ice dams and damage.
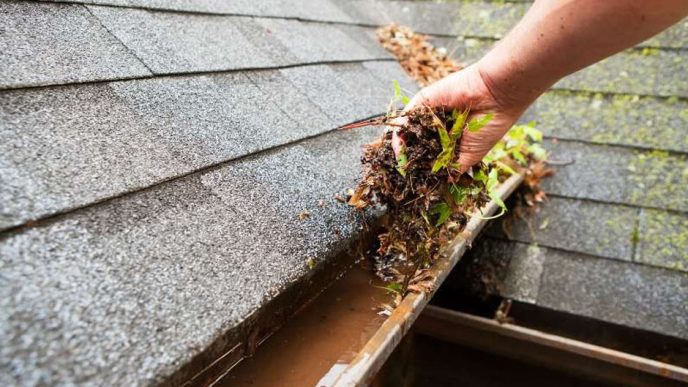
Step 1: Clear Out Debris And Ensure Full Drainage
In the first stage, professional gutter experts clear out every leaf, twig, or buildup that blocks the gutters. They make sure each downspout allows steady water flow to prevent freezing near the roof. Any blockage can stop water movement, which causes meltwater to freeze and create damaging ice dams. This careful step ensures a clear drainage path before temperatures drop in winter.
Step 2: Use Ice And Water Shield At Roof Edge
Professionals install a waterproof barrier beneath the roof edge to protect against hidden leaks, molds, or moisture. This shield prevents melting snow from seeping under shingles and entering the home structure below. It serves as an added layer of defense between the roof and the gutter system. The material stays convenient in cold temperatures and ensures strong protection throughout harsh winter conditions.
Step 3: Add Heating Cable Channels Where Needed
In colder climates, installers generally attach heating cables across gutters and downspouts to control freezing. These cables help keep melted snow moving freely and reduce the risk of blockages that form ice barriers. Warm cables ensure gutters remain open and effective even during the most extreme winter storms. This method works perfectly in areas facing frequent freeze and thaw cycles every season.
Step 4: Reinforce Hangers And Fascia Attachment
Experienced teams strengthen gutter hangers and tighten fascia attachments to hold heavy winter snow loads securely. Secure installation prevents gutters from sagging when ice collects along the roof edges. Strong hangers keep the system firmly attached, maintaining stability and long-term performance during harsh conditions. Reinforced connections protect both the roof structure and gutter alignment from seasonal weight strain.
Step 5: Check Roof Attic Thermal Control And Ventilation
Proper insulation within the attic prevents warm indoor air from melting snow on the roof. Experts confirm airflow keeps roof surfaces cold, stopping ice dam development. Balanced ventilation helps maintain consistent temperatures between the attic and the outside environment during cold weather. This step significantly lowers the risk of melting snow refreezing near the roof edges.
Step 6: Encourage Regular Seasonal Inspections And Snow Removal
Reliable professionals suggest scheduled inspections to spot early signs of ice or snow buildup. They also remove snow piles along eaves to prevent melted water from freezing and backing up into gutters. Routine maintenance helps detect weak spots before they develop into costly home repair issues. Early preventive steps ensure durable gutters that handle winter challenges without recurring ice problems.
A well-built gutter system proves its value once winter storms start to challenge your roof’s strength. Professional gutter installation provides expert precision, dependable setup, and solutions that ensure long-term safety through cold months. Opt for skilled hands that deliver comfort, protection, and performance your home truly deserves. Let experts craft gutters that stand firm through snow and ice, safeguarding both beauty and durability.